Tour Mako
Hole #1 – Mako Course
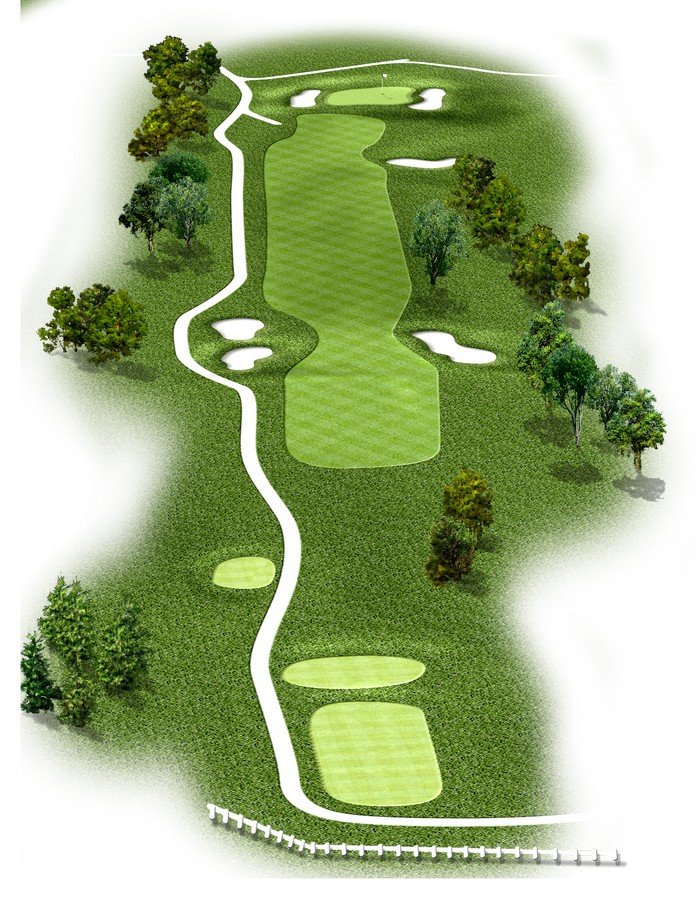
With OB left and a right to left sloping fairway, aiming up the right side is the play here. A large, inviting green will take the pressure off your approach shot. Just don’t be long as a lake awaits any shots over the green.
Hole #2 – Mako Course
A scary tee shot! OB left and water right might have you leaving the driver in the bag. Your approach should have you aiming to the middle of the green as a lake guards the right side and two greenside bunkers protect the left.
Hole #3 – Mako Course
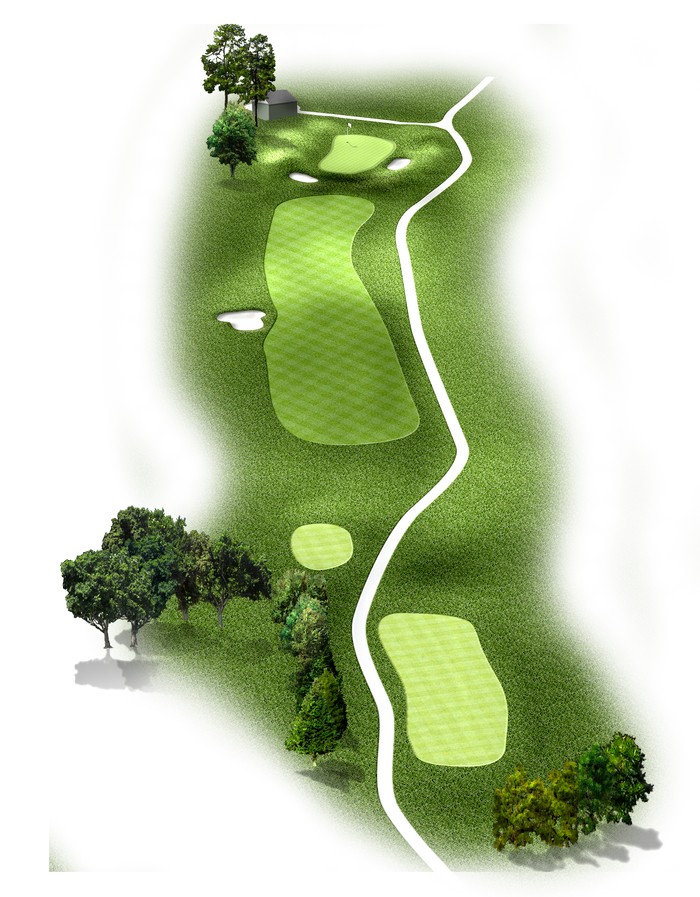
Toughest tee shot on the course. Distance is the key to positioning yourself to have an approach shot to this green. Anything through the fairway or short of the fairway will leave you with trees blocking your approach. Anything on this green in two should be considered a victory.
Hole #4 – Mako Course
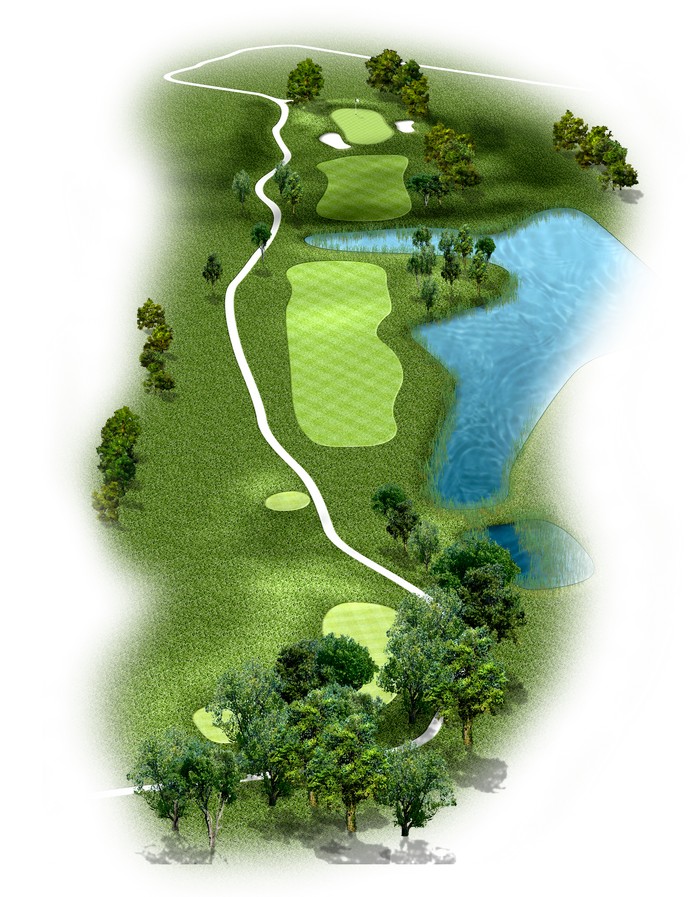
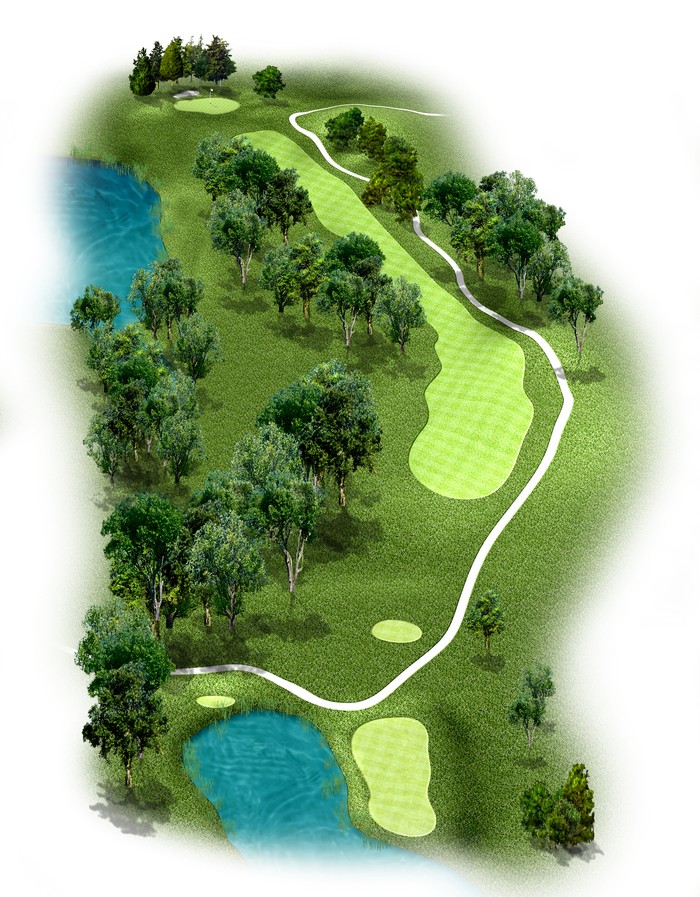
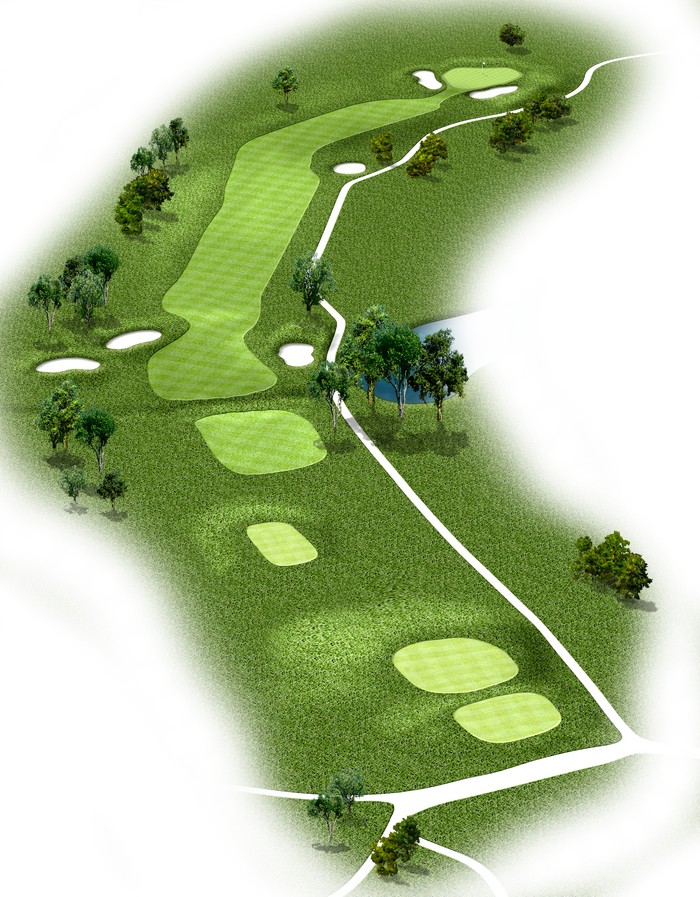
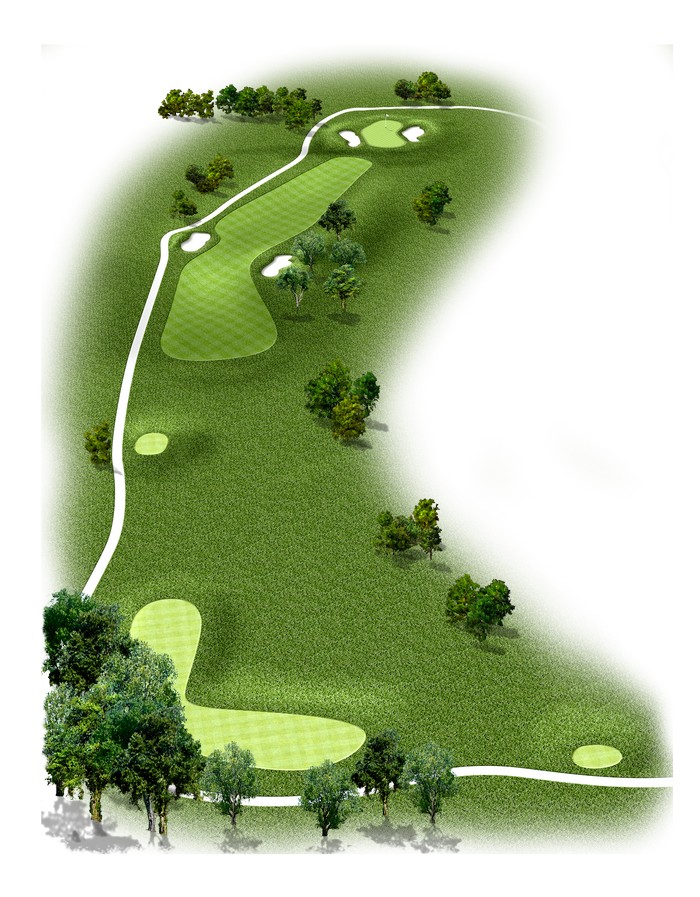
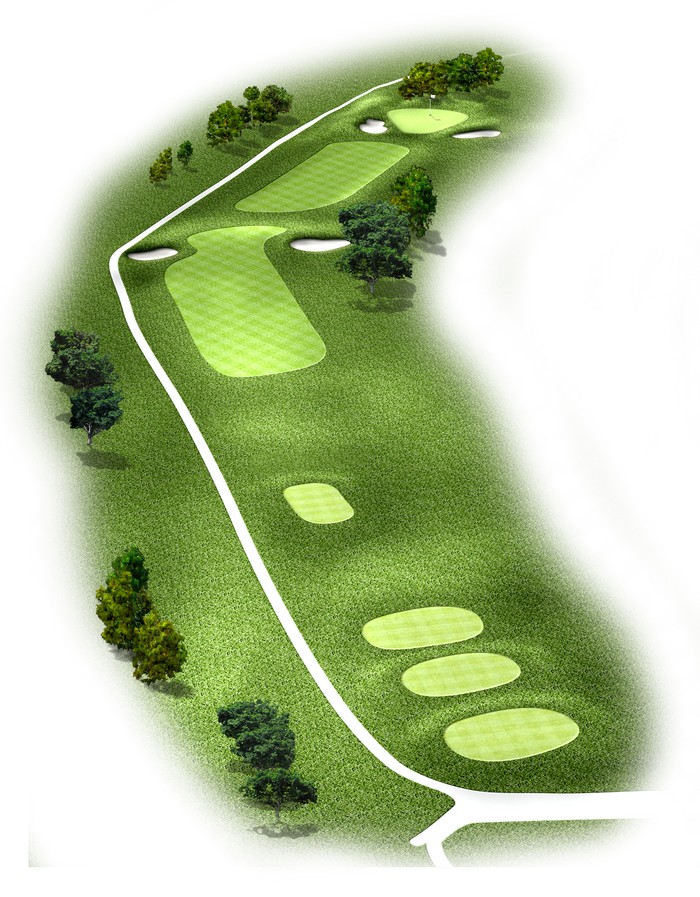
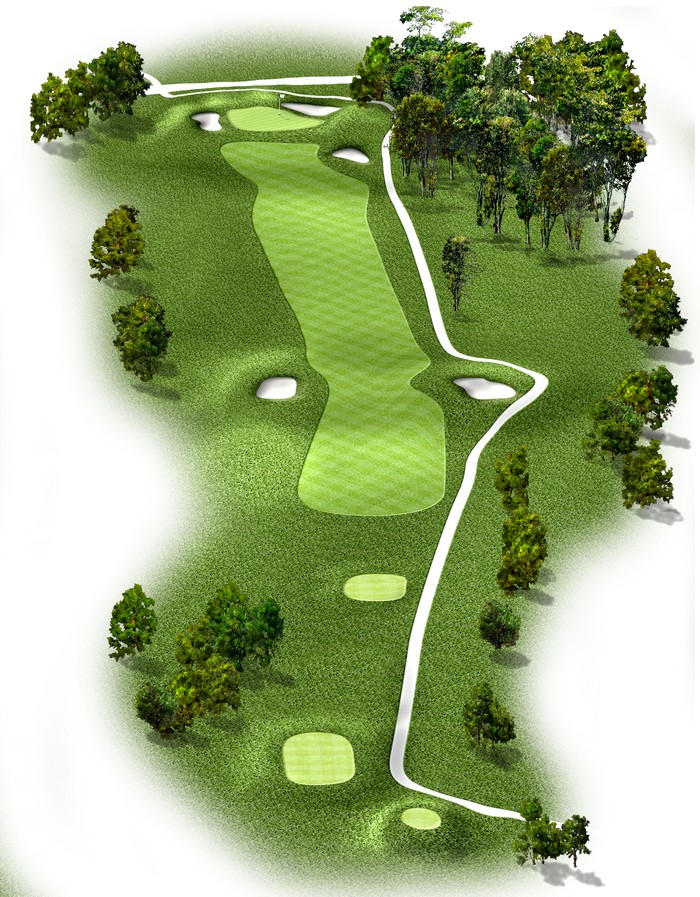
A tough par 5 to reach in two. Aim your tee shot up the right side as the fairway feeds to the left. A go at it in 2 that does not make it should leave you with an uphill pitch shot. A large green could have you grabbing your putter for a third time!
Hole #5 – Mako Course
Easiest par 4 on this side. With a favorable set of tees you may have a go at this green from the tee. With OB left and right, don’t be too errant off the tee. A good chance at birdie if you leave your approach shot below the hole.

Hole #6 – Mako Course
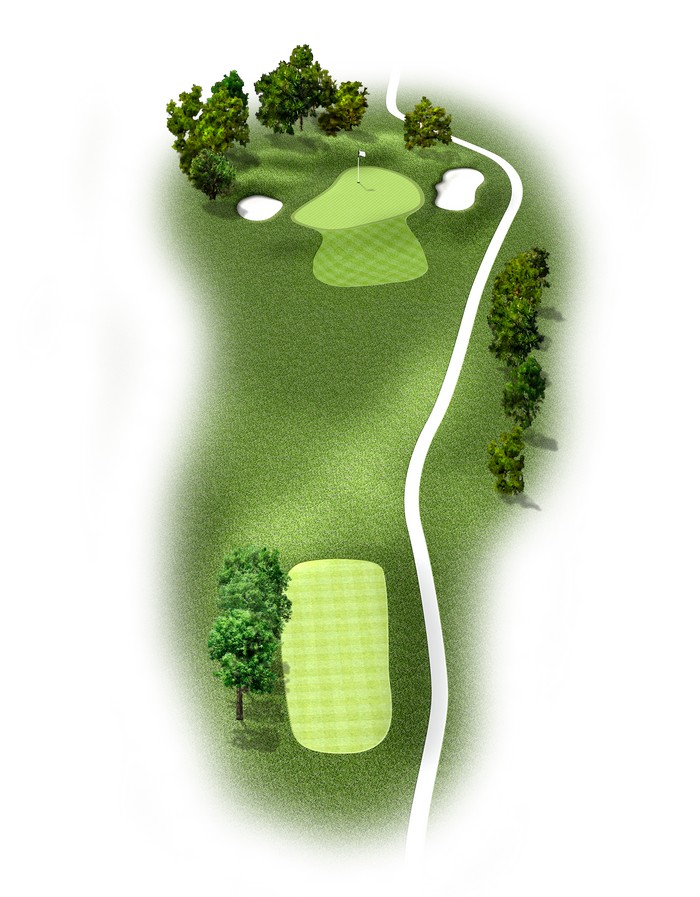
Looks may be deceiving; this par 3 plays all of 175 yards. Don’t be long on your tee shot, over the green is out of bounds. Par is always a good number on this hole.
Hole #7 – Mako Course
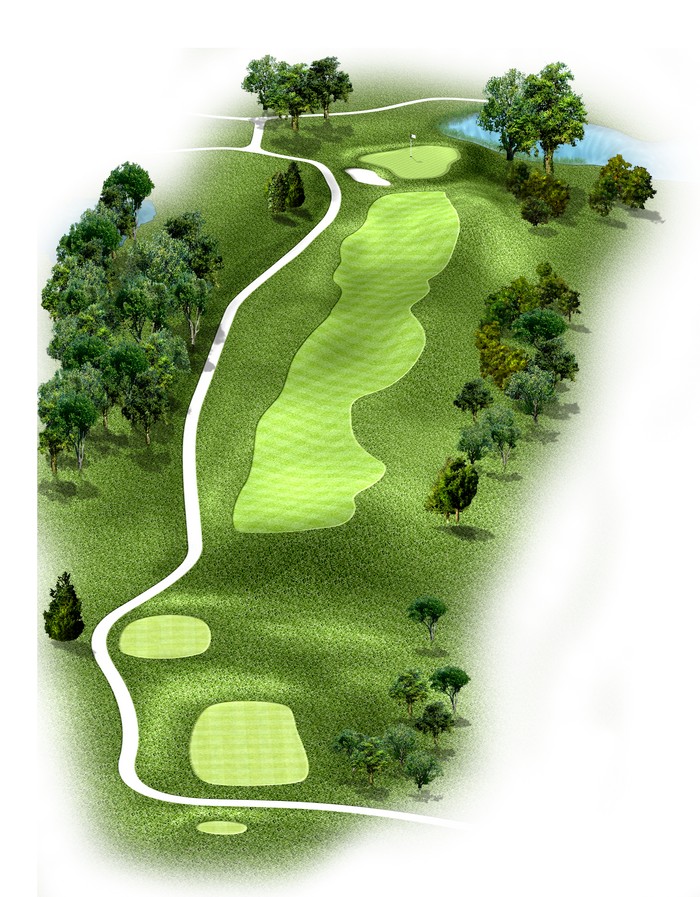
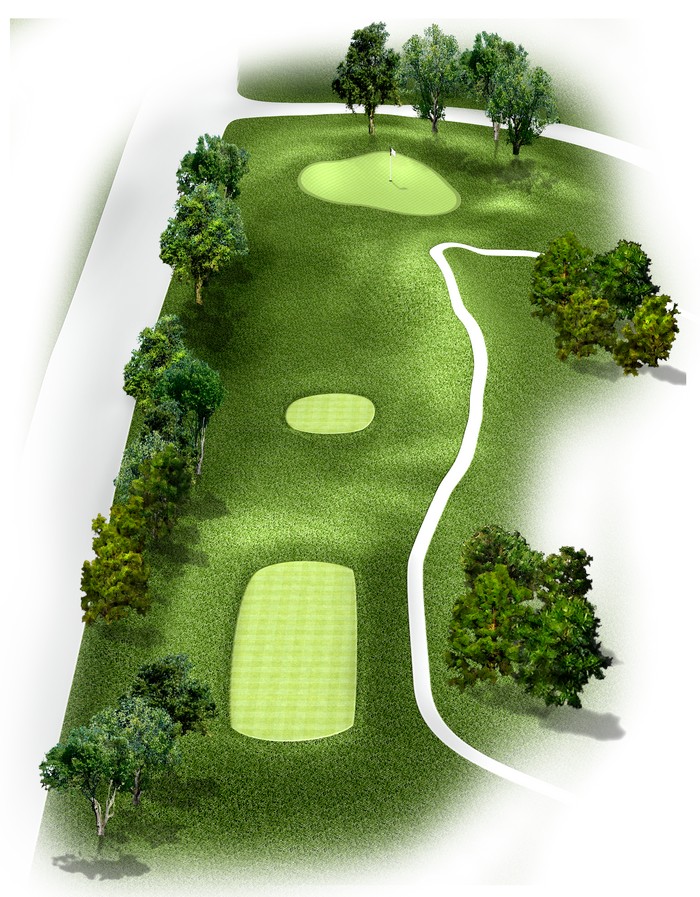
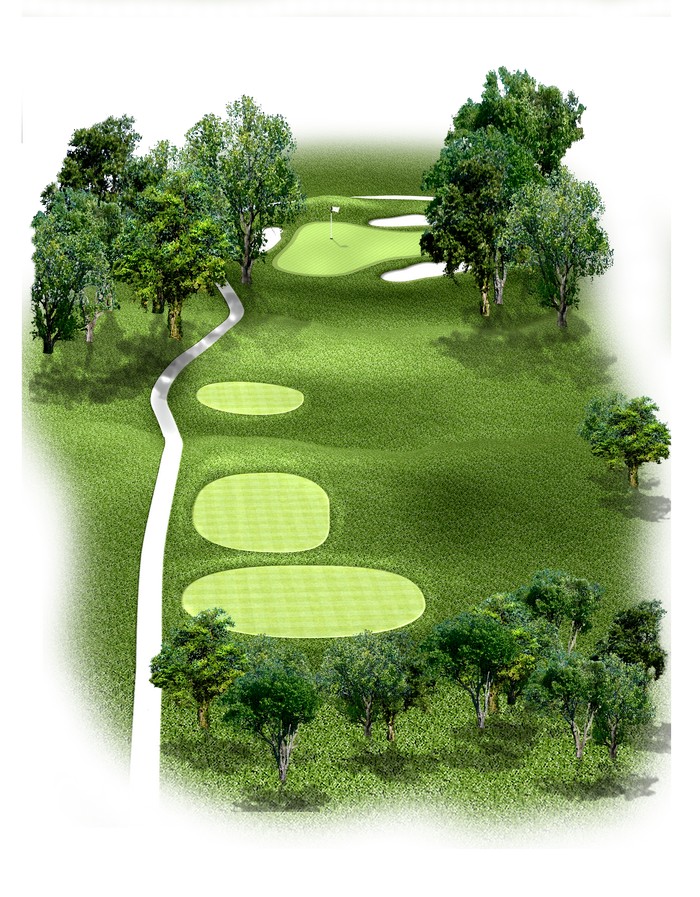
Big hitters swing away! Be careful with the left side as out of bounds juts out near the fairway. A nice drive should leave you a mid to short iron into the green. A large, undulating green makes any long putts tough to get in the hole in 2.
Hole #8 – Mako Course
A short, downhill par 3 with not a lot of trouble. Dial this one in and go right at the flag. A decent tee shot here should give you a good run for birdie with par in the bag.
Hole #9 – Mako Course
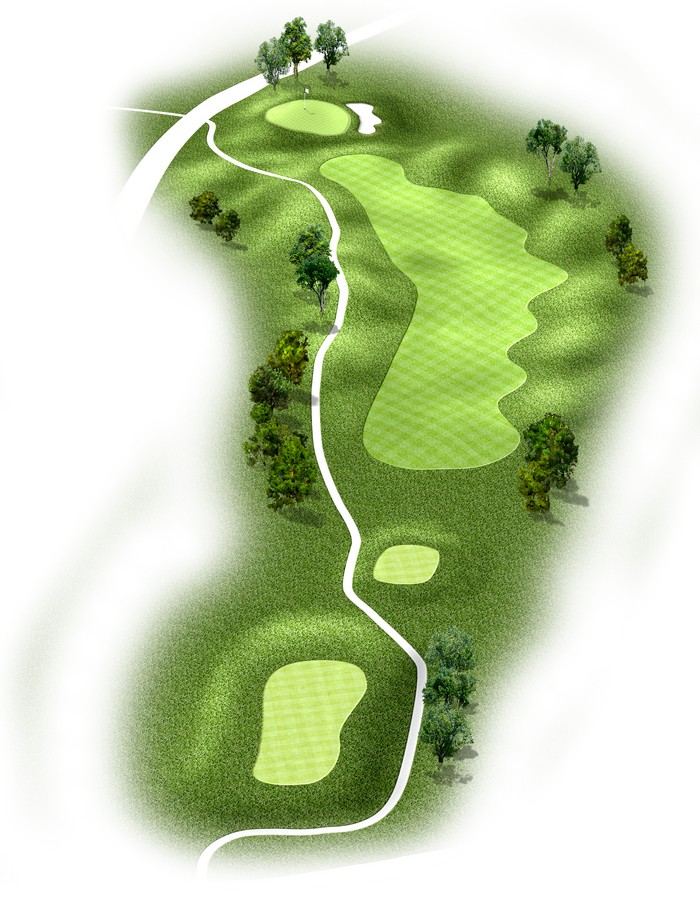
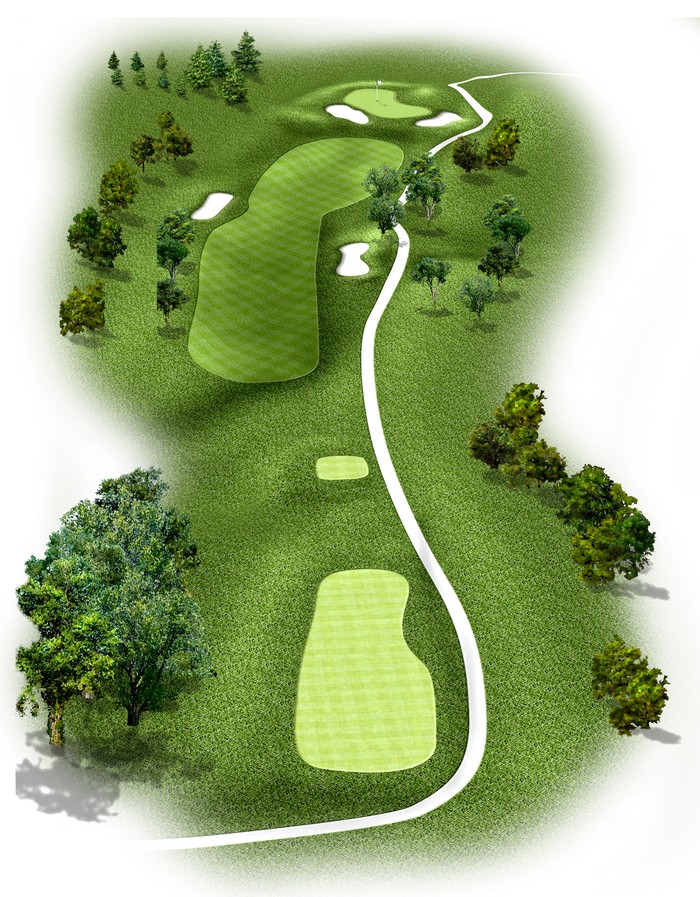
A reachable par 5 with a southwest wind. Anything short in 2 should leave you a straight forward pitch shot to a deep green. Good opportunity to end the day or make the turn with a birdie.

Tour Hammerhead
Hole #1 – Hammerhead Course
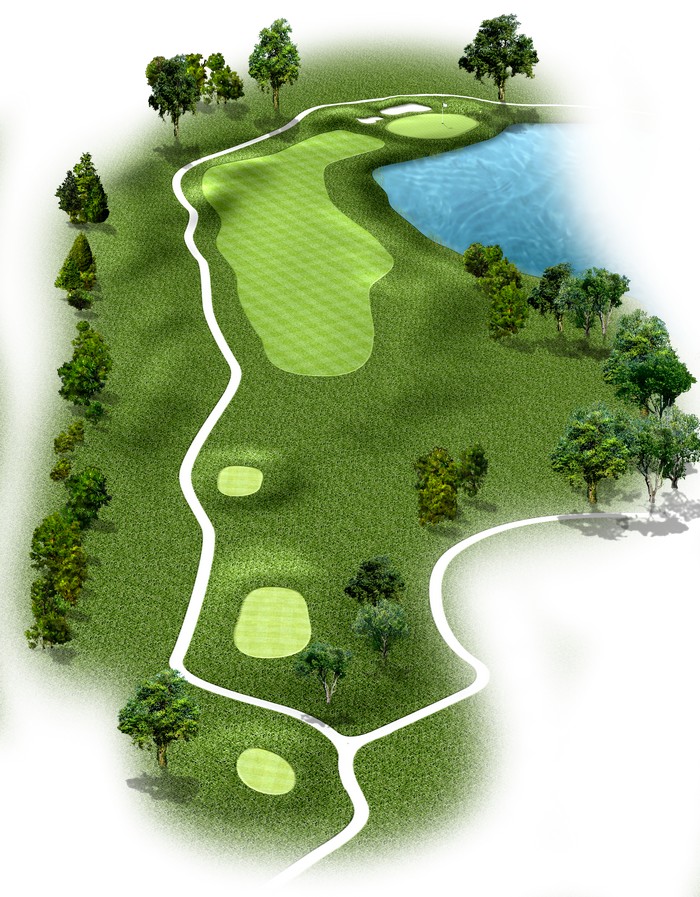
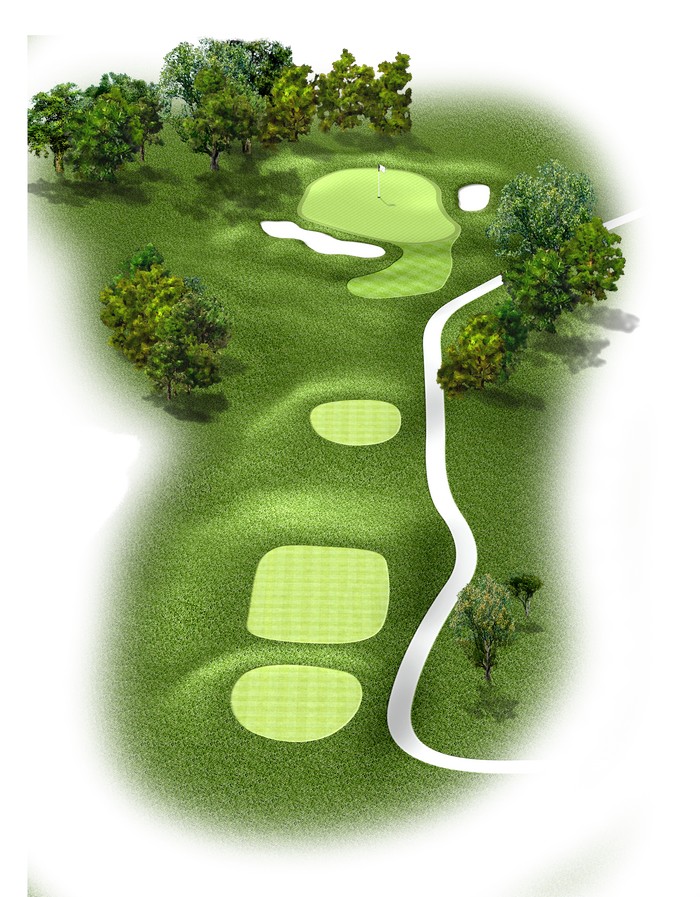
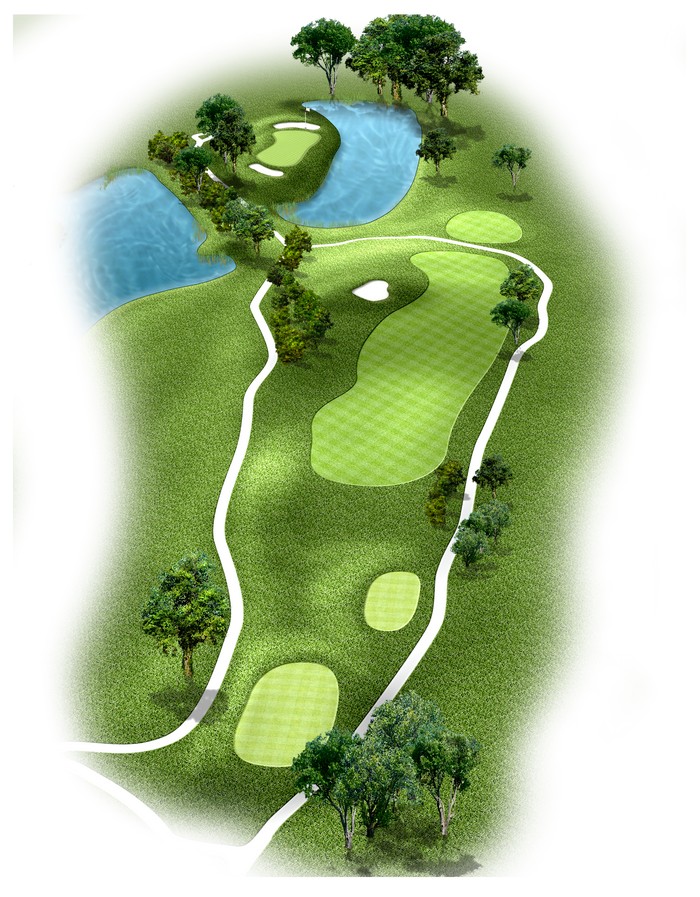
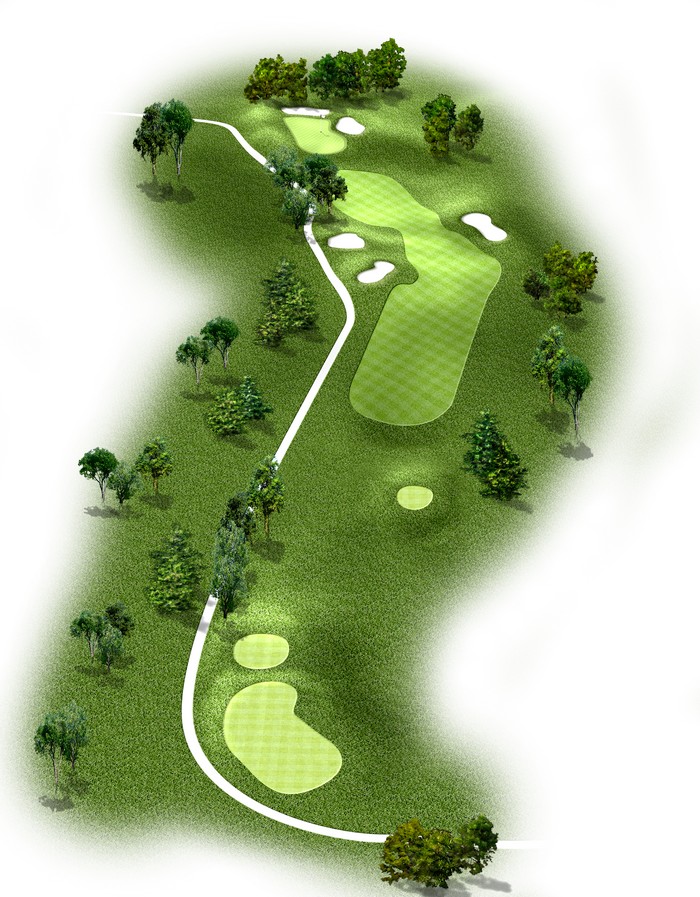
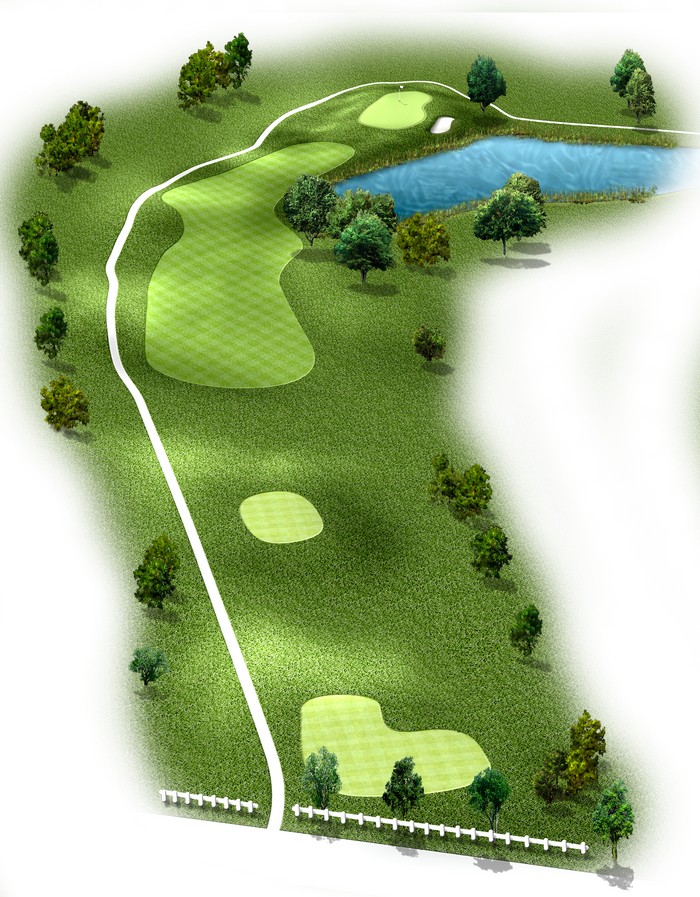
Up hill most the way makes it tough to reach in 2. With lots of room to the left off the tee and OB right, along with a lake, taking the right side out of play is often a good idea. Don’t be long on your approach as it will leave you with a tricky, down hill pitch shot.
Hole #2 – Hammerhead Course
Downhill par 3 will play shorter than the yardage indicates. Trees protect both sides of the green, as well as 3 green side bunkers. A large green makes for an easier tee shot, but with a much undulated green, don’t put yourself too far from the pin, as you will be staring a 3 putt right in the face!
Hole #3 – Hammerhead Course
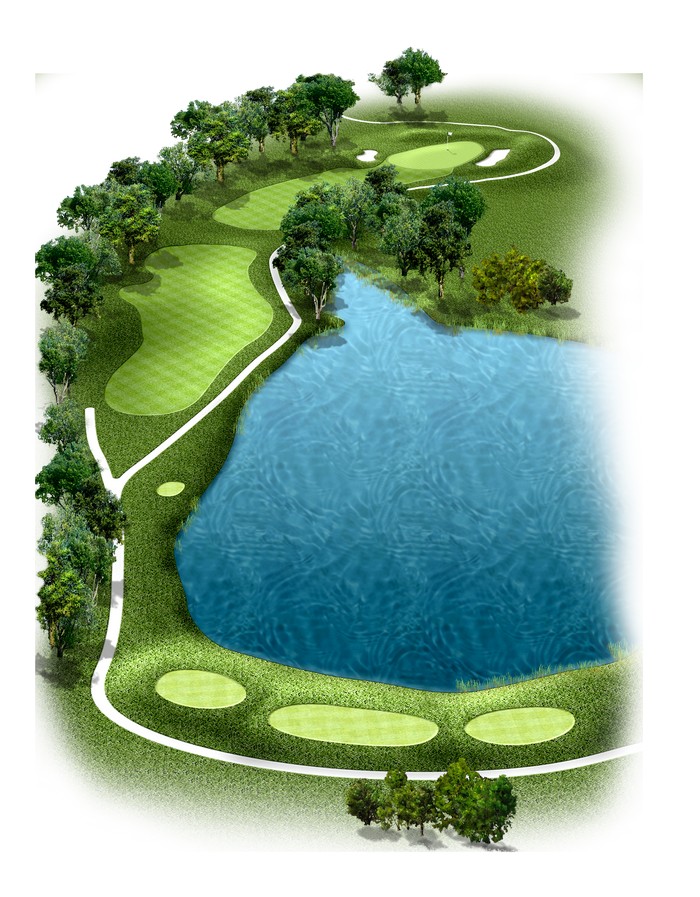
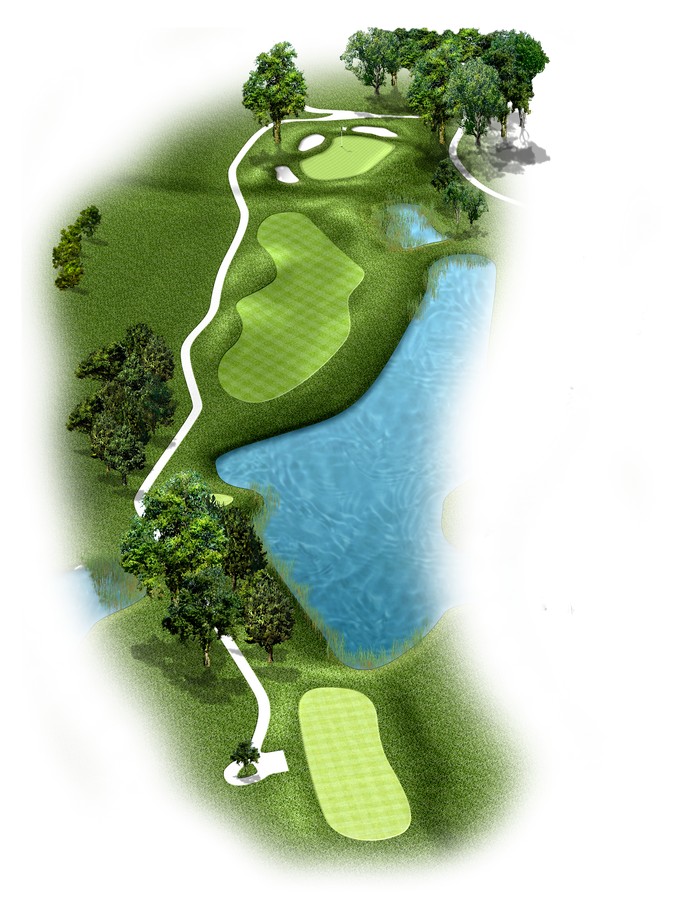
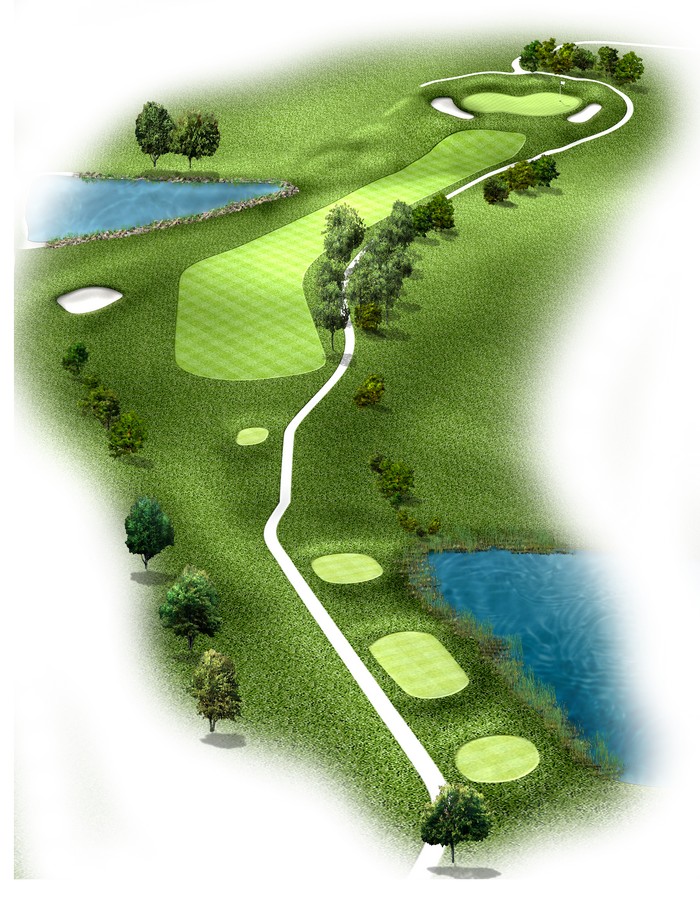
The signature hole here at Tiburon, requires a well placed tee shot to put you in position to make par. With OB right and a well placed fairway bunker to the left, accuracy is key here. Even with a well placed tee shot, your downhill approach over a lake to a narrow green is intimidating. Don’t be long though, as an up and down from over the green is not an easy task.
Hole #4 – Hammerhead Course
A lake running the entire right side of the hole, often makes bailing out left a popular tee shot option. A large green makes for an inviting approach shot and a fairly good scoring opportunity.
Hole #5 – Hammerhead Course
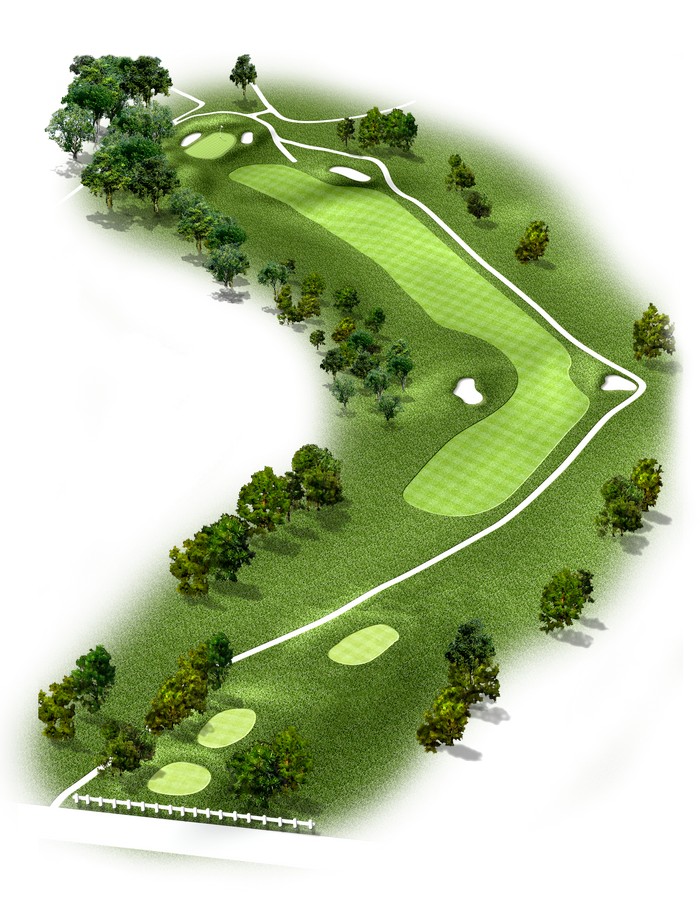
A long, uphill hole that can be shortened by long ball hitters cutting the right side of this dogleg right hole. Your best missed approach here is short as green side bunkers protect both sides of this green. A deep, back to front sloping green makes any putt a challenge here.
Hole #6 – Hammerhead Course
A long ball hitters dream! Aim over the trees on the left side and fire away! Dont be too far left though, as out of bounds could come into play. A large, fairly flat green will often allow you to get a shot back here.
Hole #7 – Hammerhead Course
A fairly short par 3 that usually plays into the wind, so you might need an extra club here. With 2 green side bunkers in front of the green and 2 behind as well, hitting into this narrow green requires very good distance control.
Hole #8 – Hammerhead Course
A large fairway makes for a pretty comfortable tee shot. A decent drive should leave you with a short iron into the green. Trust the yardage, as most approach shots from the fairway are blind as the green is up the hill.
Hole #9 – Hammerhead Course
A reachable par 5, especially with a little tail wind, gives you one last chance a getting one back here. The fairway slopes left to right, so favor the left side as your ball will funnel right. A good drive here should leave you with a go at the green in 2.
Tour Great White
Hole #1 – Great White Course
Aim your tee shot at the right fairway bunker and turn it over. A nice drive should leave you with a mid to short iron in to this back to front sloping green. A must par here, as it is one of the easier par 4’s on this side.
Hole #2 – Great White Course
With the fairway sloping severely from left to right, aiming up the left side of the fairway is ideal. Be careful though, as a well place fairway bunker will eat up anything too far left. A decent drive should leave you a short iron into this green. Don’t leave yourself above the hole, you will be in for a “slippery” downhill putt.
Hole #3 – Great White Course
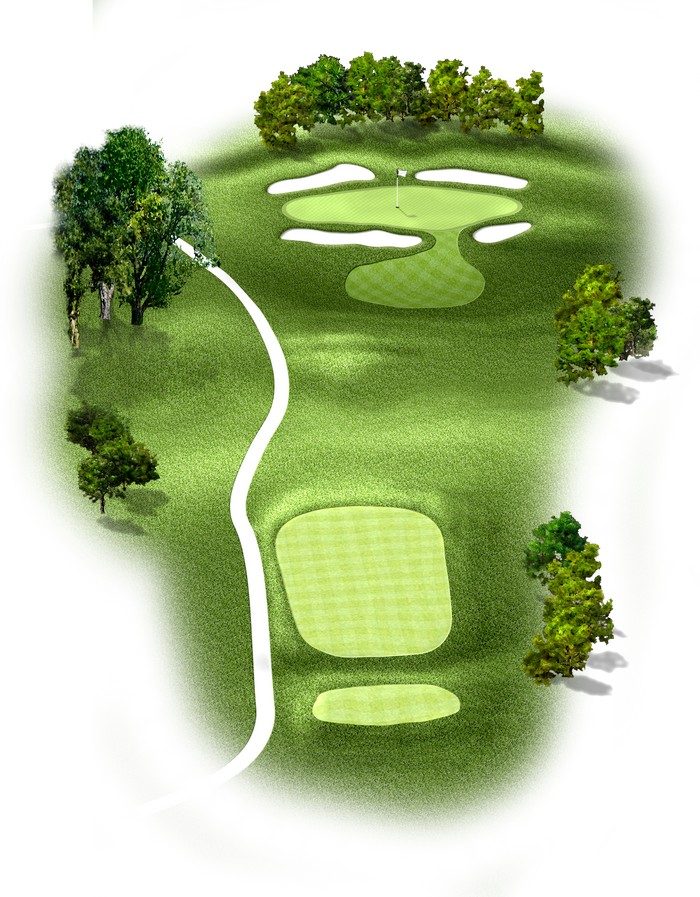
Don’t be fooled by this easy looking par 3. Usually playing into the wind, you may need to club up one or two. A large green is inviting from the tee, but don’t be too conservative, as a long first putt could equate to a 3 putt!
Hole #4 – Great White Course
Your best scoring opportunity for this nine. With OB to the left, and plenty of room right, aim for the heart of this fairway knowing a good miss is to the right. Definitely reachable in 2, but bunkers surrounding the green will eat up any off target approach shot.
Hole #5 – Great White Course
Tricky tee shot here. Anything middle of the fairway slopes toward the lake and could leave you with trees blocking your approach shot. Left is a good a bail out option or perhaps a long iron off the tee. Accuracy is key on your approach, as anything right will be swallowed by the lake and anything left leaves a scary up and down!
Hole #6 – Great White Course
Toughest hole on this nine, big hitters may want to gamble and cut the right side corner to make this hole more manageable. Too far right, however, will find OB and any pulls could send you through the fairway and into the lake. A straight, 250 yard drive will leave you with a long iron into this narrow green. Any pars on this hole deserve congratulations!
Hole #7 – Great White Course
This par 3 seems to play a little longer than the yardage indicates, so an extra club my not hurt here. Anything in the middle of the green here should leave you a good run for birdie. Try not to short side yourself on this green, as it will leave you a shaky up and down.

Hole #8 – Great White Course
Aim your tee shot over the left fairway bunker and turn it over. The combination of a good drive and a little tail wind could leave you a chance to reach the green in two. A severe right to left sloping, narrow green makes this a tough green to hold. Any misses on your approach should either be short or left.
Hole #9 – Great White Course
A 240 yard tee shot is ideal here. Anything longer than that will be flirting with the lake. An uphill approach will probably leave you reaching for another club. A front pin placement will make anything long an almost definite 3 putt.